The heater on the VX220 is a bit renowned for being useless. It provides very little heater and hardly any power from the fan.
There was a replacement developed by someone on the vx220 forum called Fezzasus (John?) but I believe he stopped producing these due to time constraints and availability of parts.
So I finally but the built this winter and decided to make my own.
Its along similar lines to the Fezzasus heater simply because the chassis has useful mounting holes in place to suit that style of setup.
I initially sourced a Heater box from Europa kit car spares. But the pipes would prove difficult to fit in the tight space.
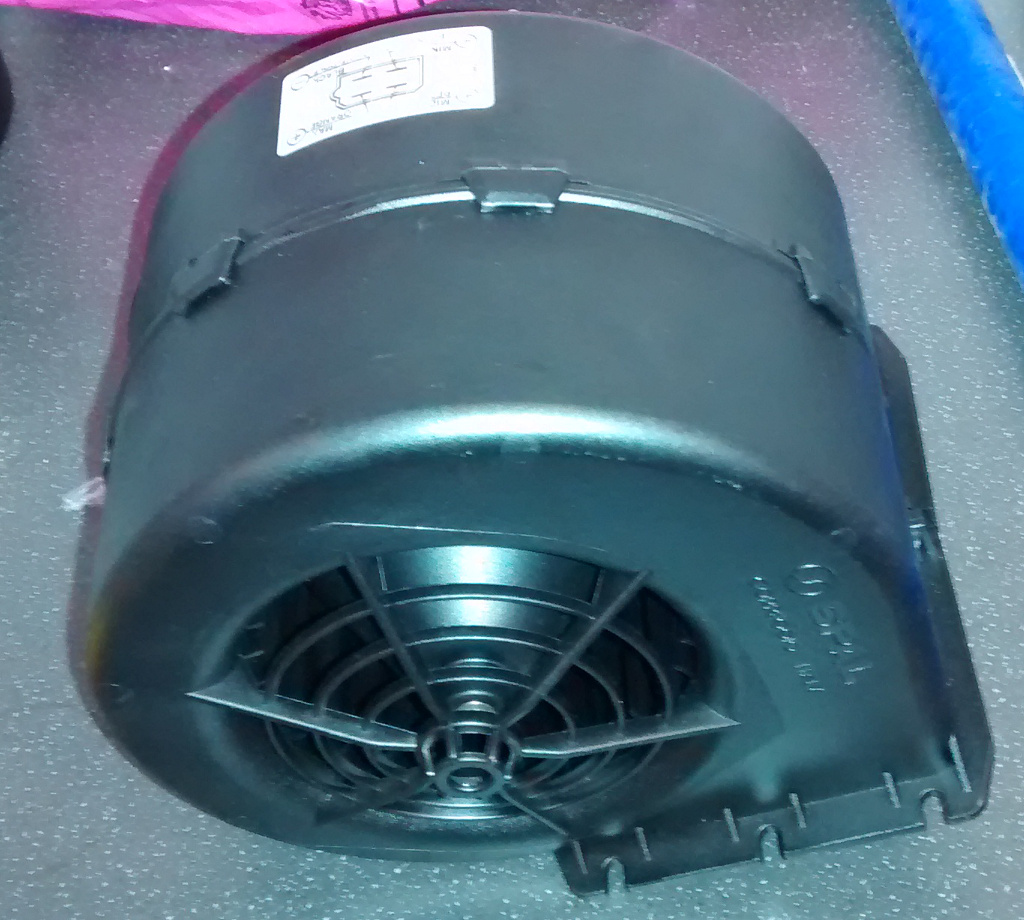
However looking at the fan unit on there I realised it would easily mount to a flat plate and the matrix could sit on the top.
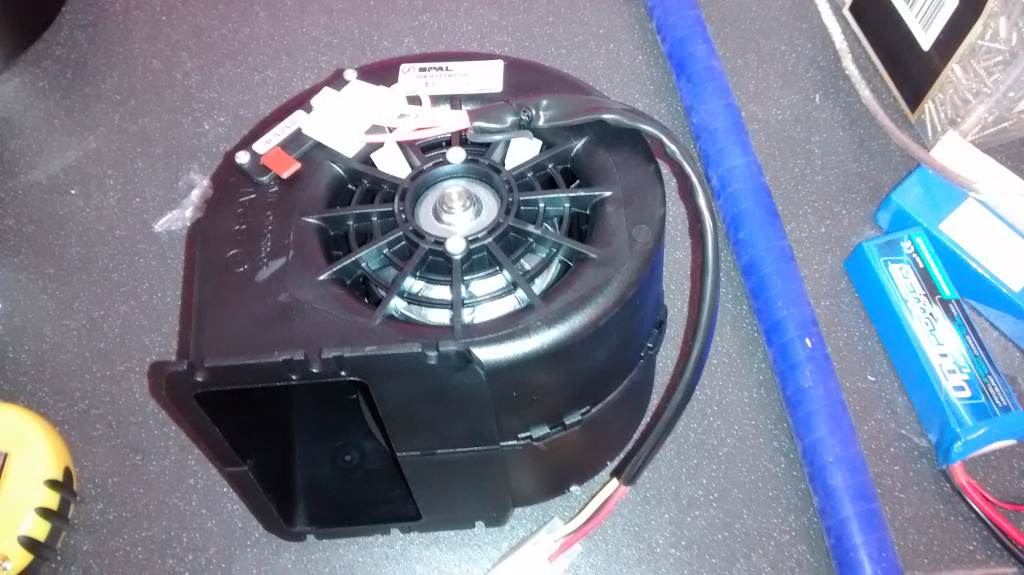
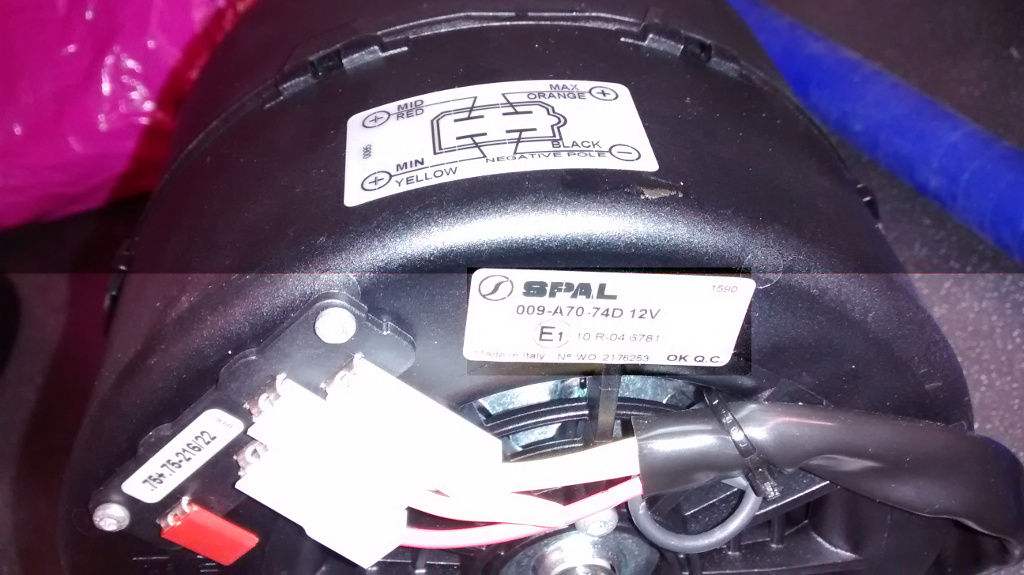
I hunted round for the Fan unit supplier as it looked a bit small and bought a similar but larger unit from T7 Design. This one also has the 3 speed heater resistors built in to it :- This fan unit seemed to be a good starting point.
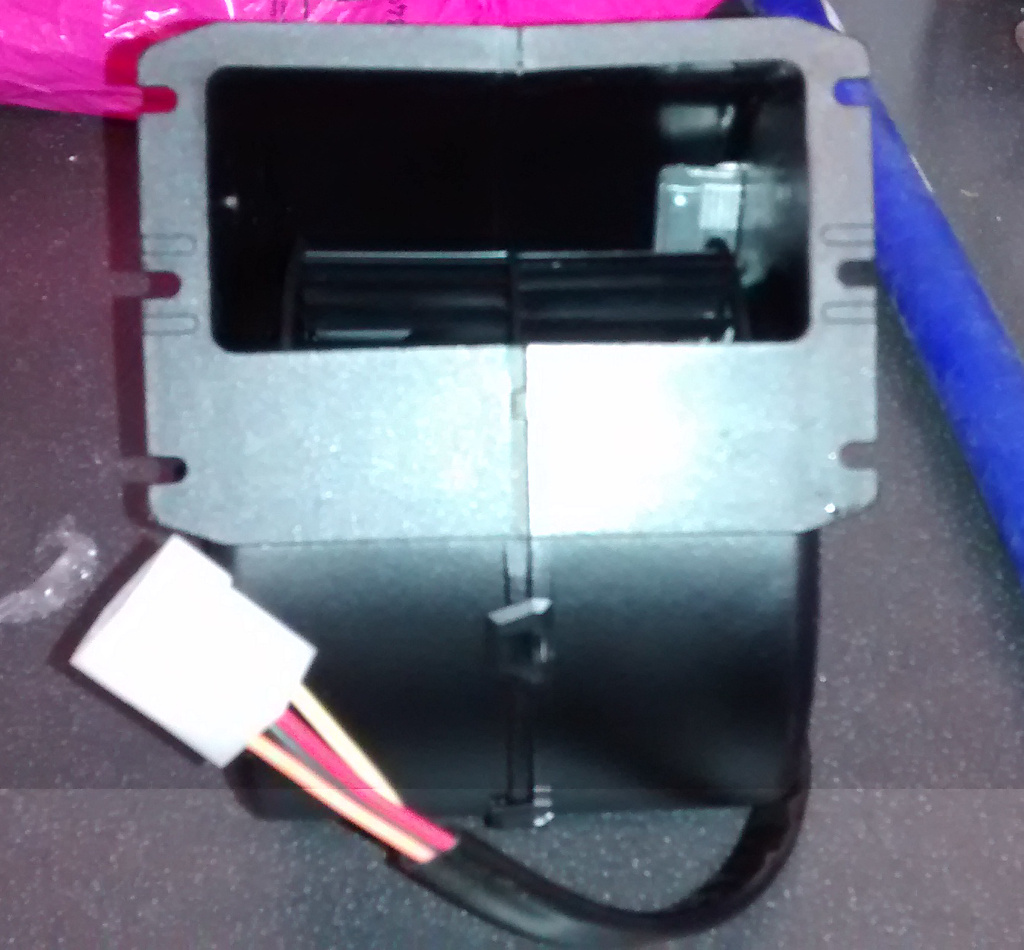
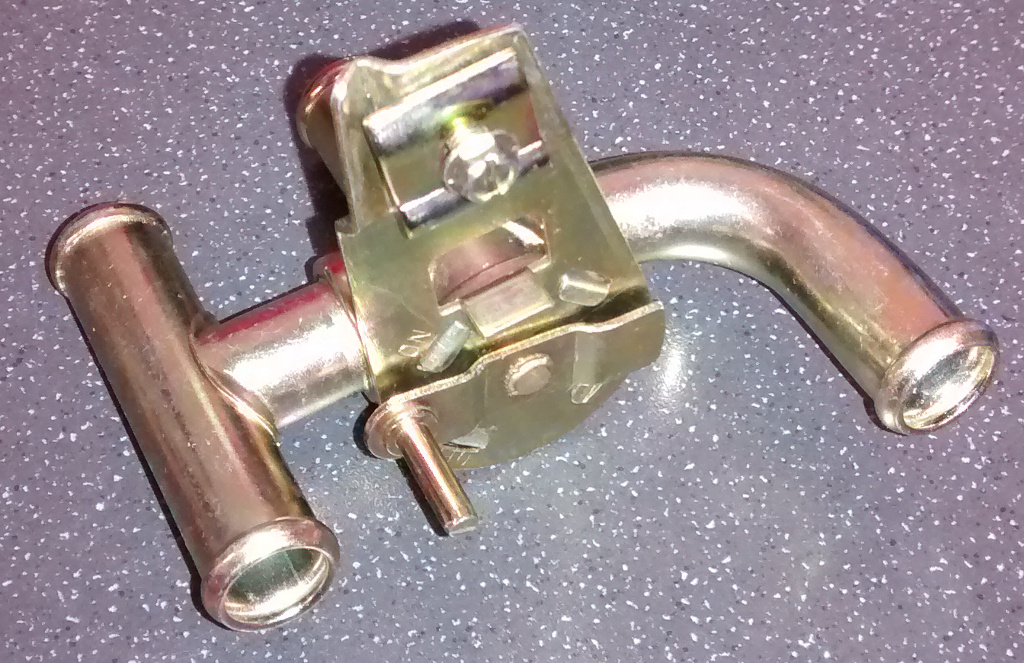
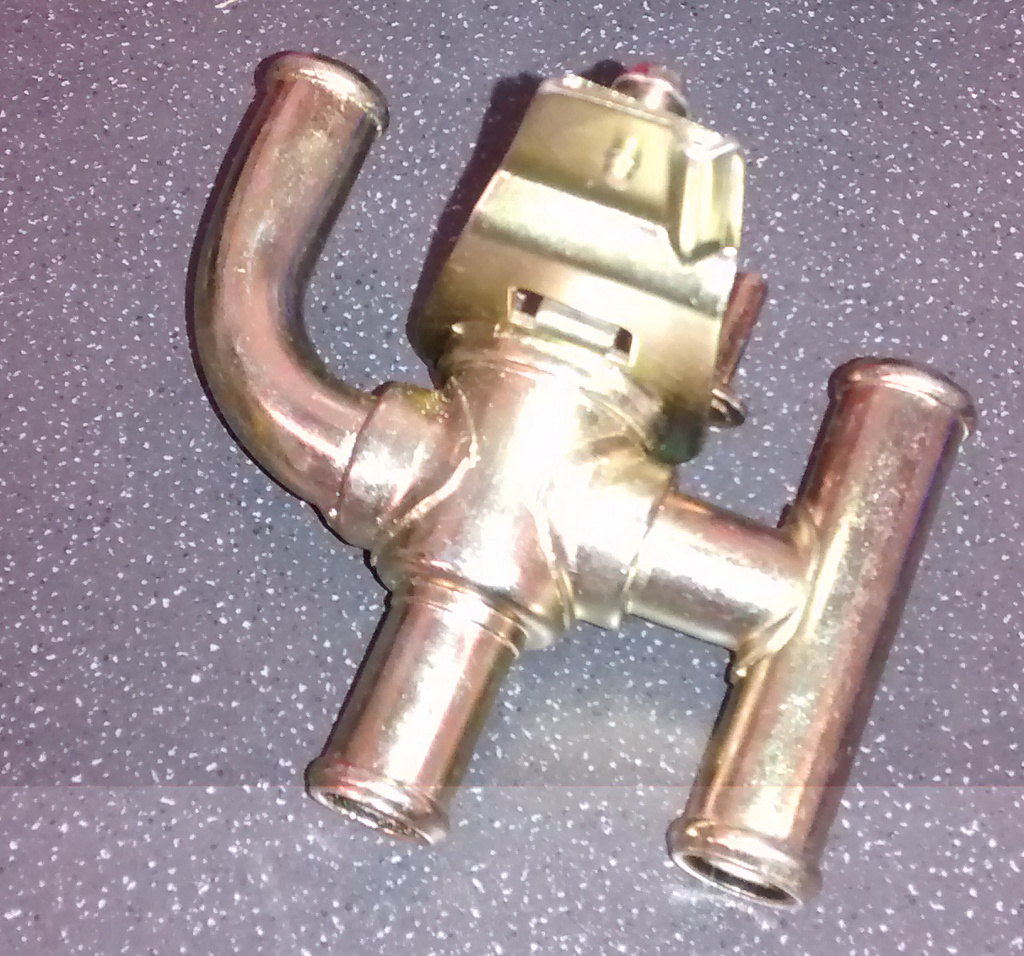
T7 Also supply a Y valve for the heater water supply. I understand its important to allow water to flow through the pipes even when its not going through the heater matrix. So this Y valve is important. Unlike the Fezz unit, this one is manual and will be activated by the existing heater cable that would normally operate the flap in the original VX heater.
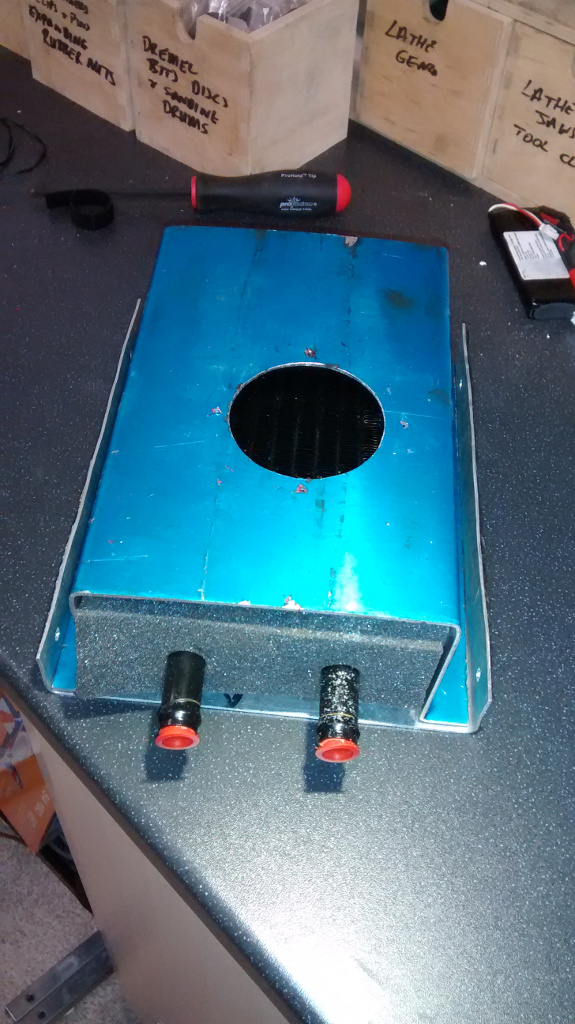
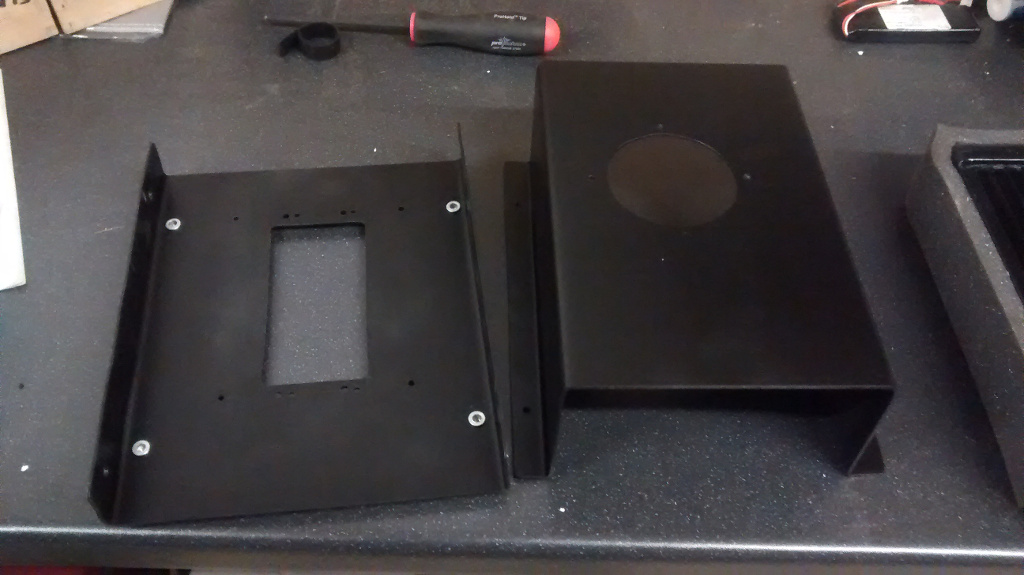
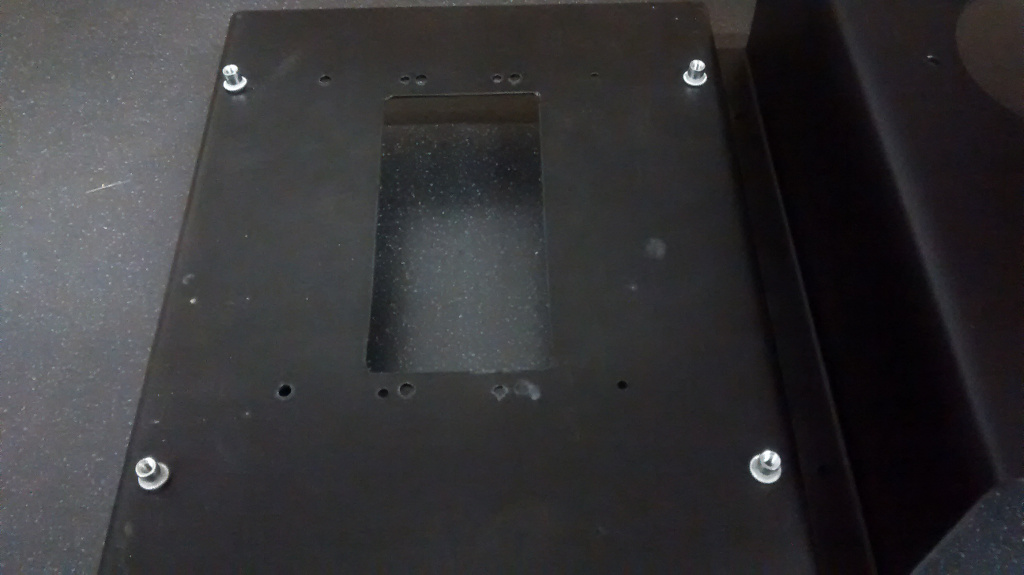
The basic layout is a tray base plate that bolts to the rivnuts that are already in the VX chassis rails
The fan will sit under this blow air up through the base plate into a box containing the matrix. So I also made a box top that bolts to the base plate using rivnuts
Note that I left 1cm all round the matrix for foam to hold it in place. This includes 1cm top and bottom as I THINK this will allow air to flow through more of the matrix than if it were pressed hard up against the top and bottom plates.
Base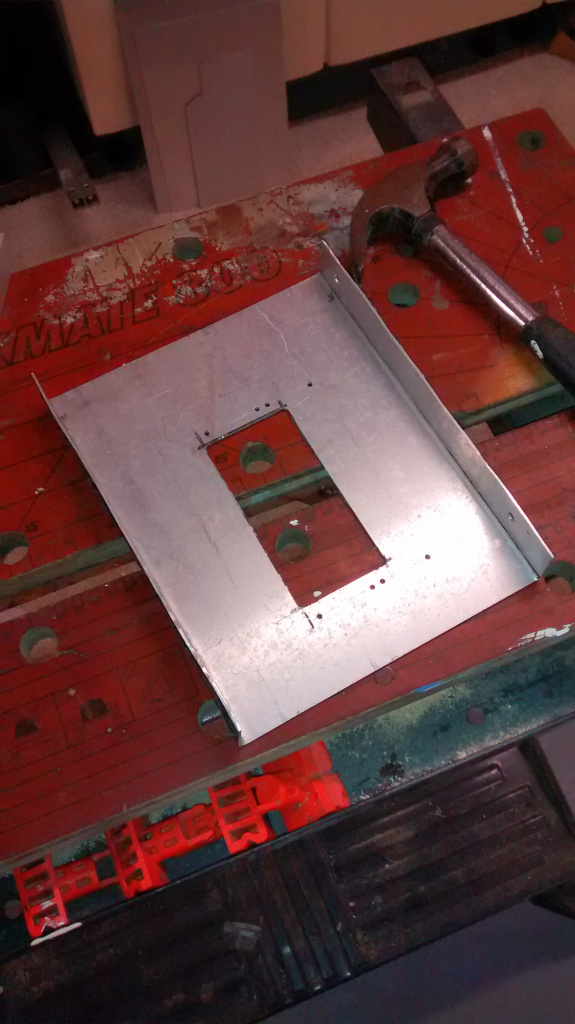 Top
Top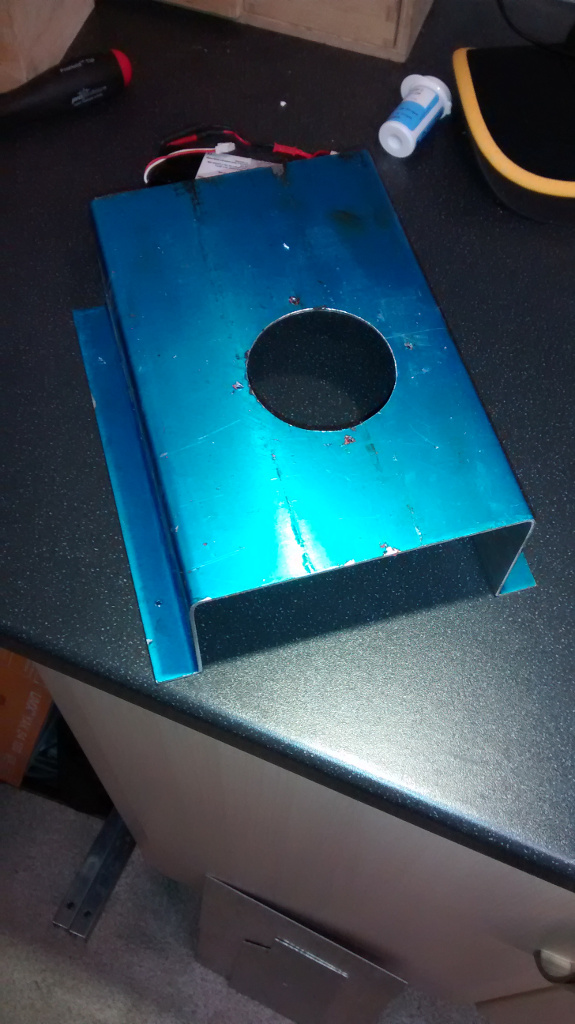
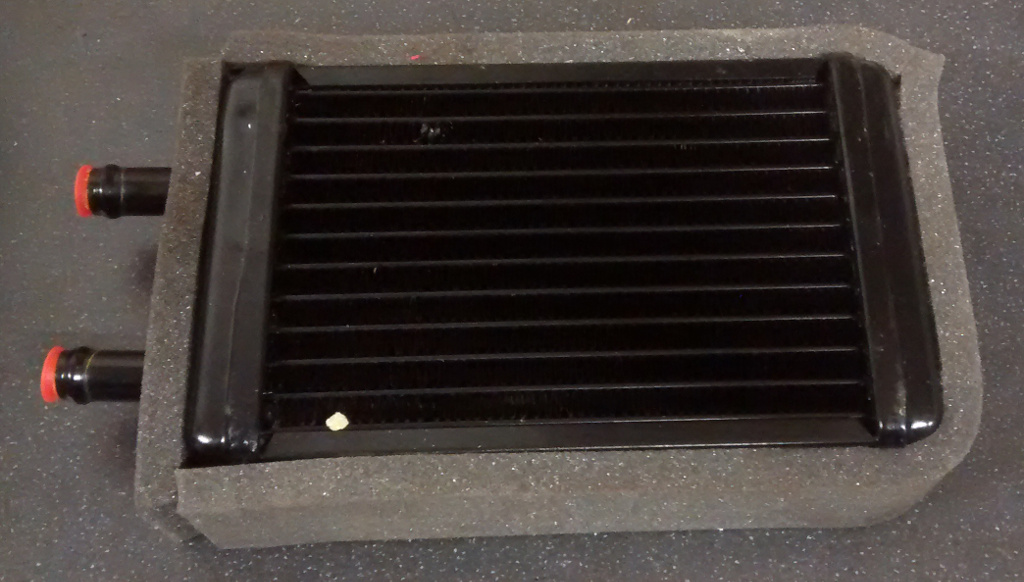
This is the matrix from the Europa heater. Its a ideal size to fit in the gap.
Prety sure you can source these from
T7 Design
too.
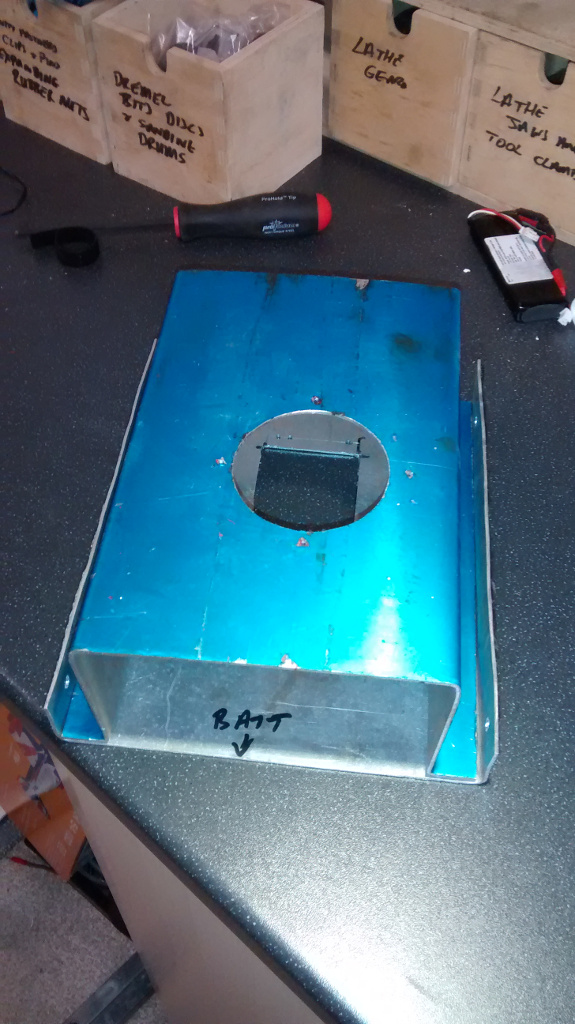
With Matrix in place.
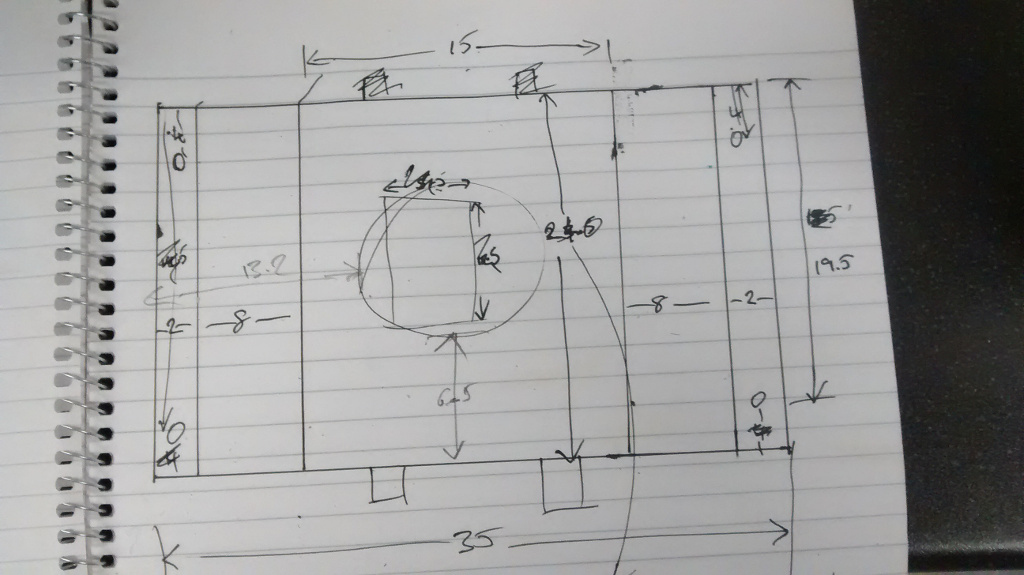
eeerrrrm these are the drawings I was working from.. Kind of making it up as I go along...

Now paint it plasticote primer and satin black
Add foam rubber to tbox out to and bottom of heater matrix. This will sandwich it between top and bottom plates and allow the airflow through the whole matrix.
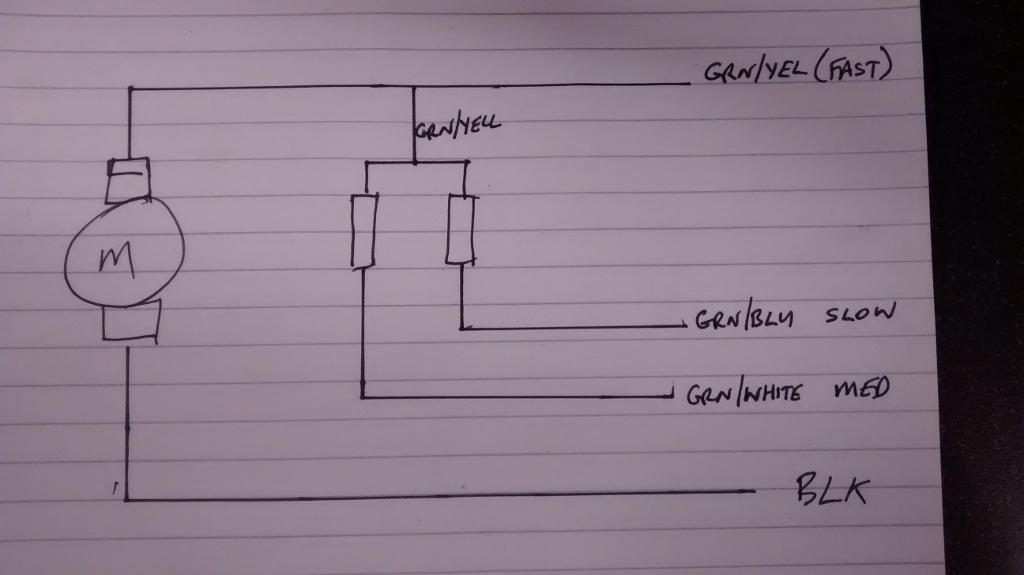
Do a small wiring harness for the fan unit. This should be easy as there is an earth and 3 wires - one for each speed.
Bolt it into the car
The hardest part I think will be plumbing in the Y valve into the existing heater pipes. Fingers crossed.